Machines used.
1)DC named as = PTCL-DC [Windows Server 2008 R2]
2)Exchange 2010 Sp1 = PTCL-EXCH [Windows Server 2008 R2]
3)MOSS 2007 = Moss [Windows Server 2003 R2]
4)Sql Server 2008 SP1 = PTCL-SQL
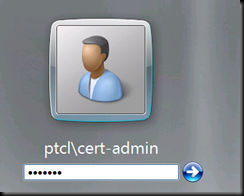
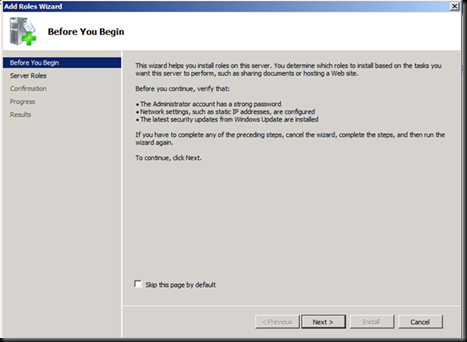
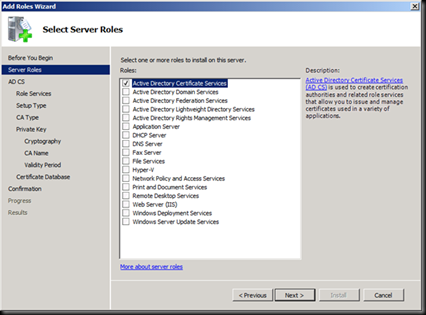
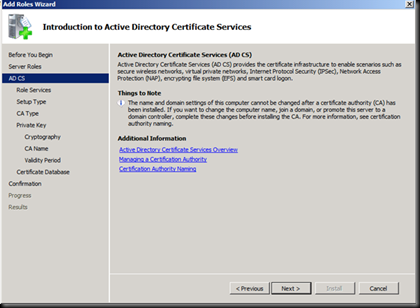
Let us start with Installing a Certificate authority on Windows Server 2008 R2 machine which is joined to the Domain.
The Goal of this LAB is that Users get familiar with the process of Installing Certificate Authority and then enroll certificates for their ADRMS and Exchange 2010 OWA.

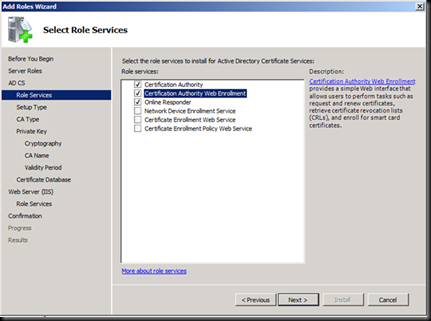
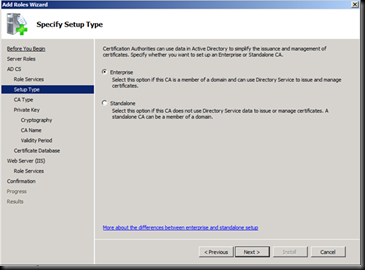
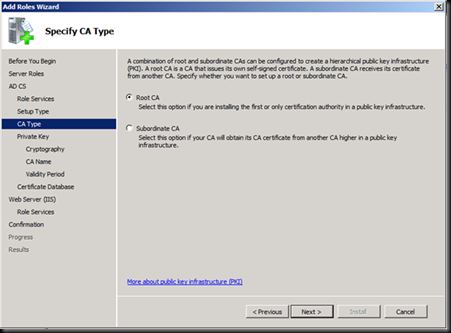
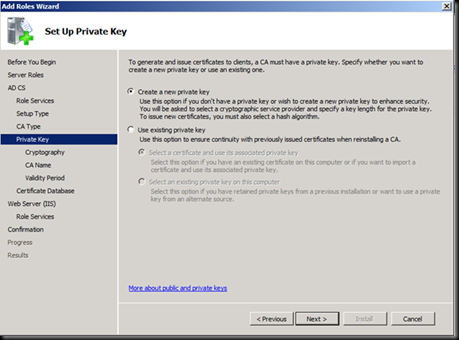


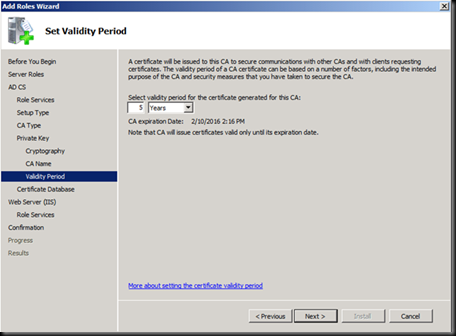
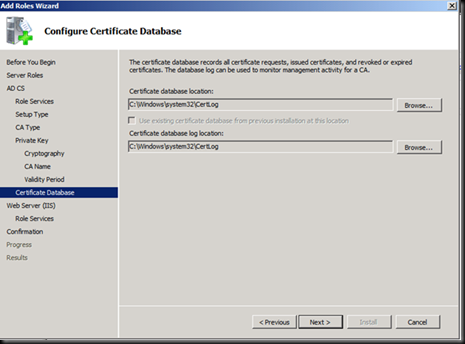
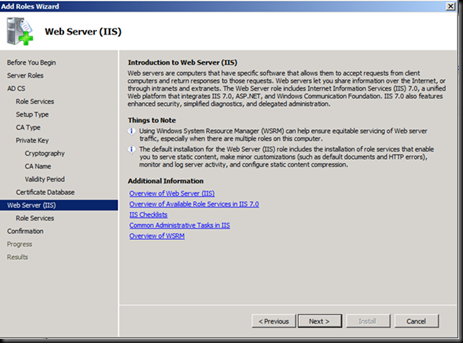
Accept the Defaults of IIS
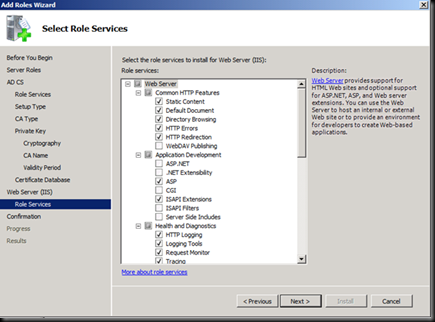
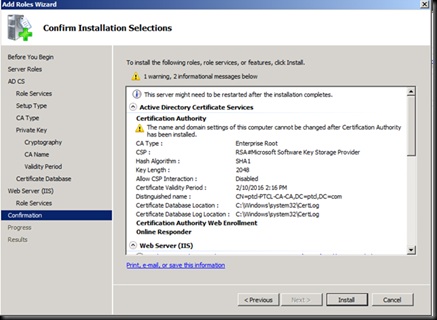
Click on install and wait for the installation to Finish and then restart the Machine.
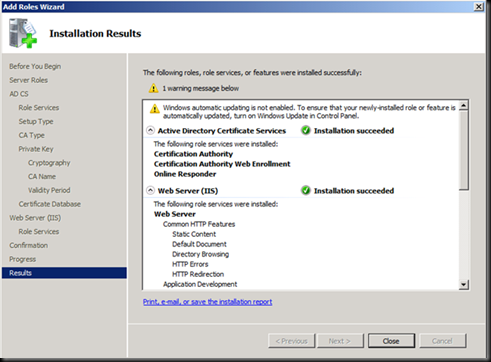
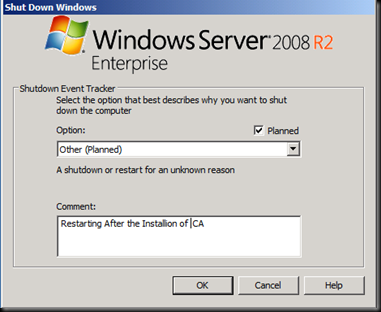
After the machine is re booted
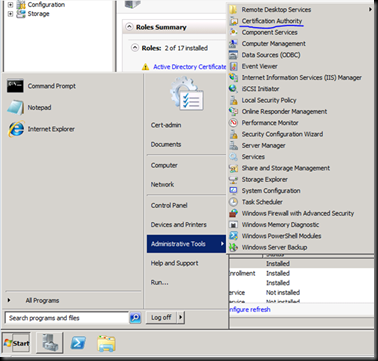
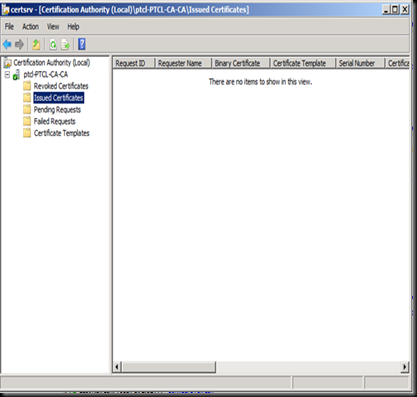
If we check under Issued certificates at present none of the certificates are issued.
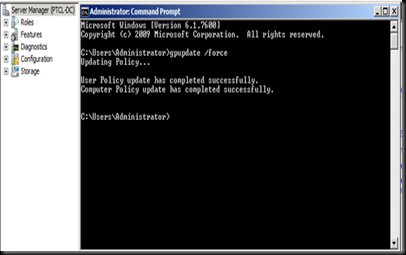
Now go on the DC and run GPUPDATE /force
Now go back on the CA and view the issued certificates

This means that the CA is working as expected.
Now Let us start with Doing ADRMS the wrong way 
Don’t be surprised by reading the title. I just wanted to highlight a common mistake which is done by most of the customers that I have been too.
Open the machine named PTCL-ADRMS
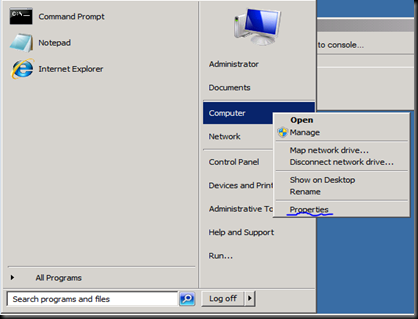
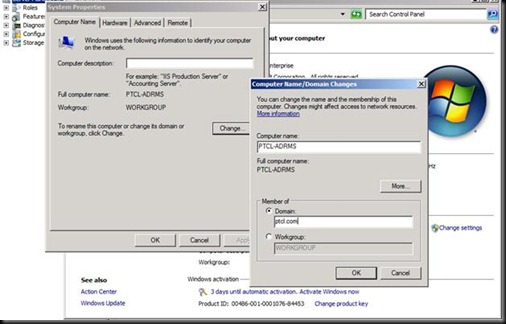
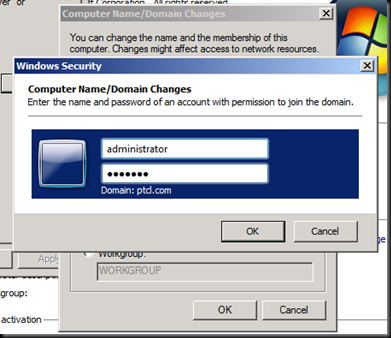
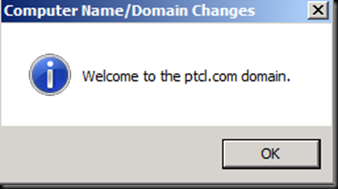
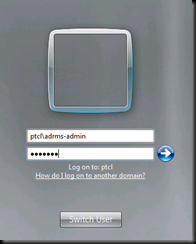
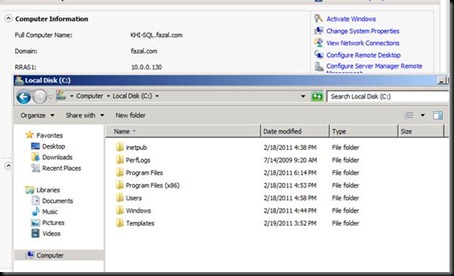
Note the name of the machine  [hint to what would be going wrong]

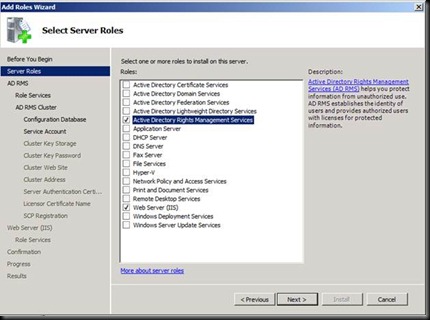
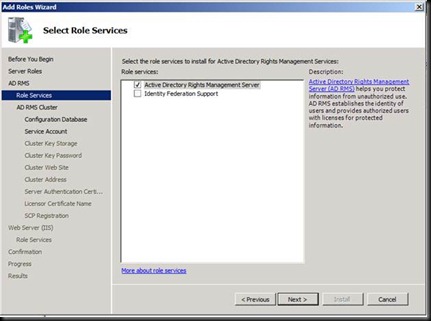
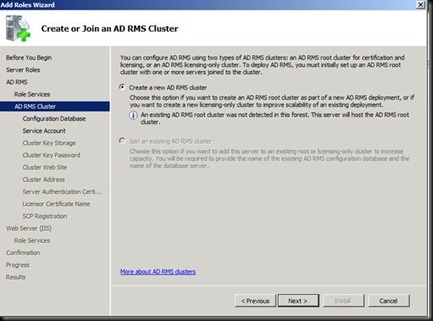
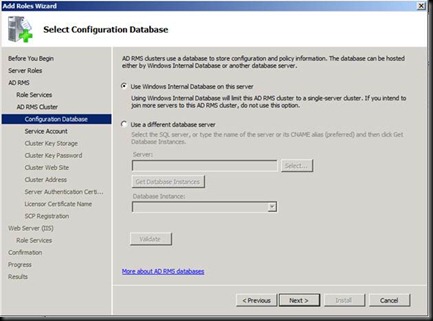
Click on next and try entering the user account which you are logged in as and give the password [The error says that Installation account could not be the same as the service account]
Let us go In active Directory users and computers and create a User account
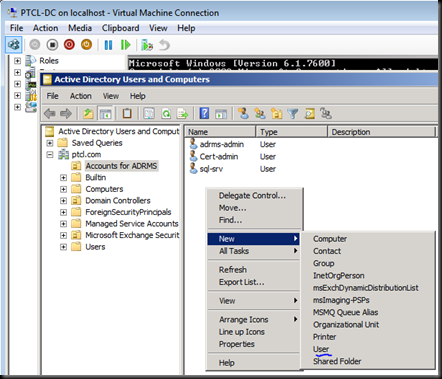
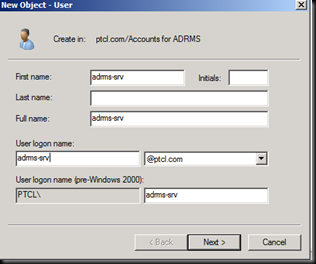
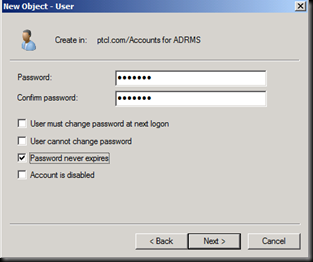
Now Let us go back on the ADRMS Machine.
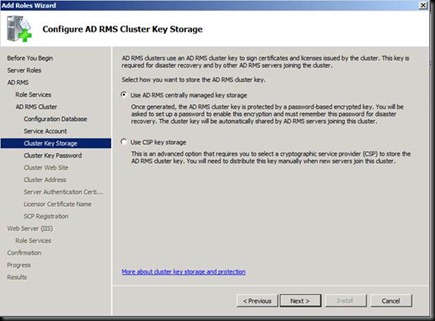

Now this is where everything goes wrong.


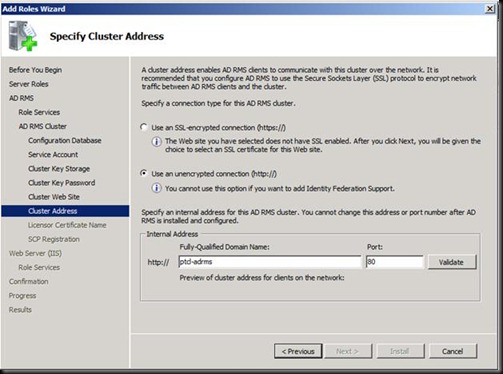
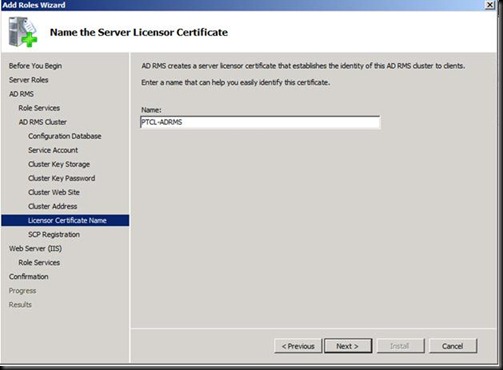
Make sure that the account your are doing the installation is the member of Enterprise Admin for this step

Click Next and Next again
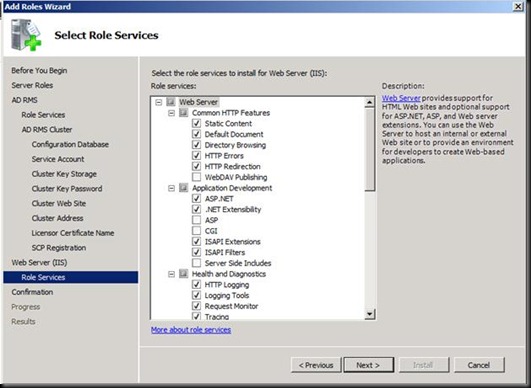
![clip_image002[4] clip_image002[4]](https://fazalmkhan.files.wordpress.com/2011/02/clip_image0024_thumb.jpg?w=500&h=369)
Click Install
![clip_image004[4] clip_image004[4]](https://fazalmkhan.files.wordpress.com/2011/02/clip_image0044_thumb.jpg?w=488&h=361)
Now Verify that these groups are present
![clip_image006[4] clip_image006[4]](https://fazalmkhan.files.wordpress.com/2011/02/clip_image0064_thumb.jpg?w=522&h=313)
Log off and Log back in
![clip_image008[4] clip_image008[4]](https://fazalmkhan.files.wordpress.com/2011/02/clip_image0084_thumb.jpg?w=496&h=450)
![clip_image010[4] clip_image010[4]](https://fazalmkhan.files.wordpress.com/2011/02/clip_image0104_thumb.jpg?w=495&h=397)
Have a Good Look at the Licensing path.
Now the Question in your mind would be that we have done everything and installed everything but where is the DOING IT ALL WRONG PART J
Trust me it is just around the corner. J
Now let us test it on the client.
Let us go in Exchange 2010 and create a new user
Please Go in services and check if all the exchange related services have started J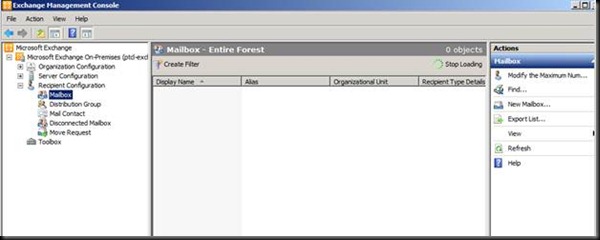
![clip_image013[4] clip_image013[4]](https://fazalmkhan.files.wordpress.com/2011/02/clip_image0134_thumb.png?w=512&h=447)
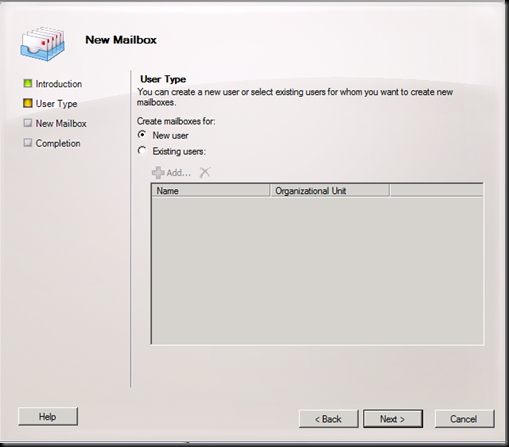
You know the password J
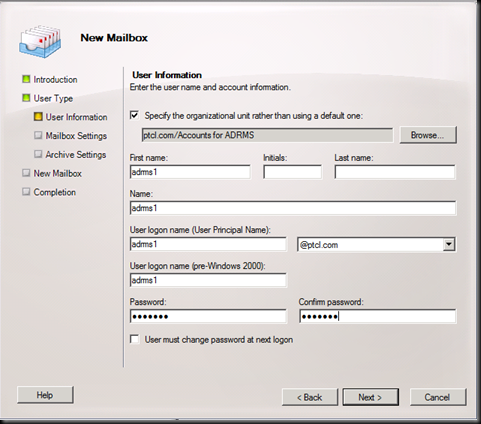
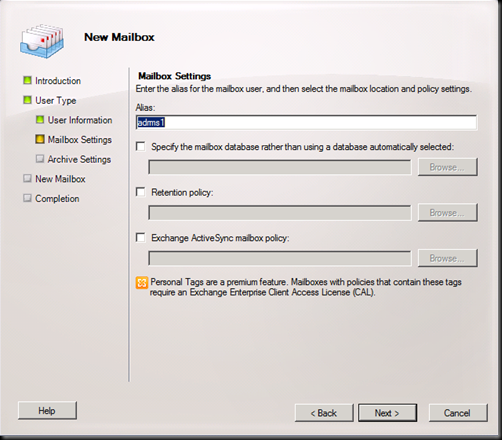
Next and then New
Create another user named ADRMS2
Now Open the Windows 7 machine and log in
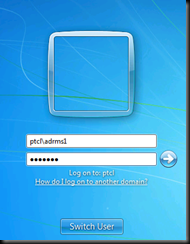
![clip_image019[4] clip_image019[4]](https://fazalmkhan.files.wordpress.com/2011/02/clip_image0194_thumb.jpg?w=517&h=339)
Go in C Drive and create a word document by this name J
![clip_image021[4] clip_image021[4]](https://fazalmkhan.files.wordpress.com/2011/02/clip_image0214_thumb.jpg?w=523&h=153)

Notice that the machine is doing the bootstrap process{If this step hangs than log in to Outlook once}
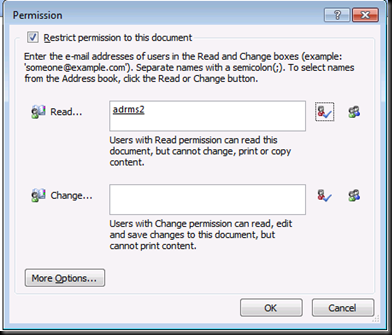
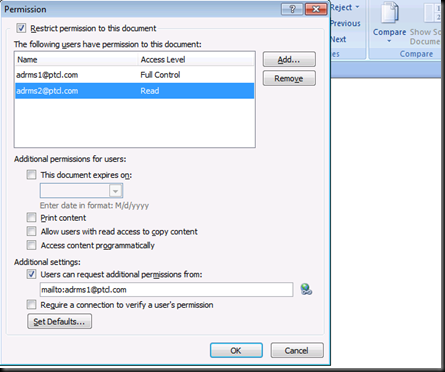
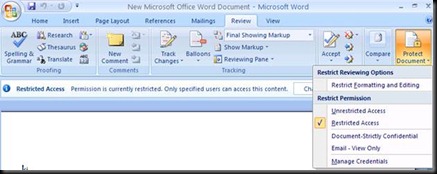
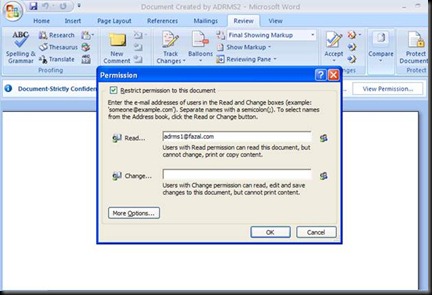
Now Click on More Options
You can give Finer Permission from here
Access Content Programmatically could be used if you are using MACROS
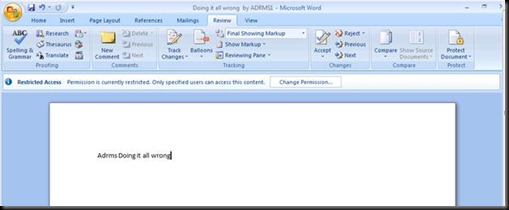
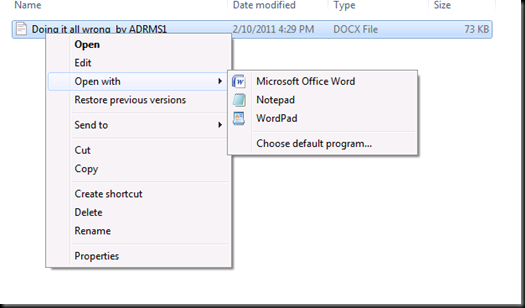
Open this word file with Notepad now
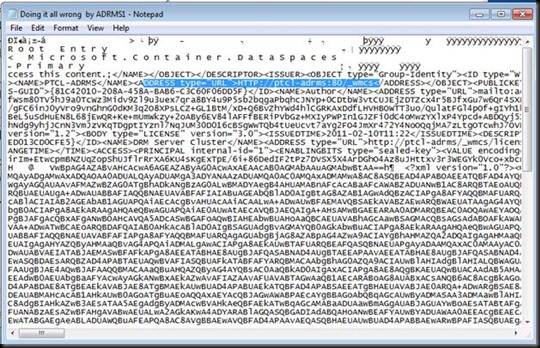
Note that Every RMS Encrypted document has this URL Stamped. Now if ever you decide to Load Balance this RMS Cluster you cannot because you have hard coded the URL with the machine name. Another Problem is that all content is hardcoded with http and now If you setup Https than still all clients would use http.
That is why it is said to use Cnames in DNSJ
Now let us verify that RMS Really works
Press  on Windows 7 VM and switch user
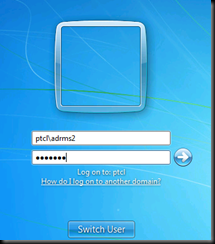
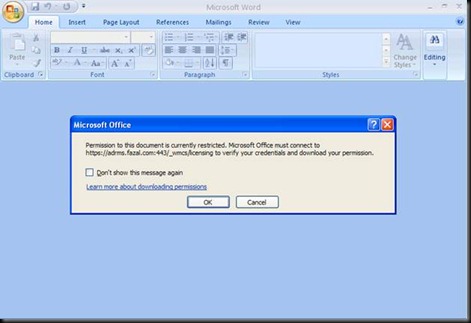
Let us go in C Drive and try to open the document.(ADD THE URL IN THE INTERNET EXPLORER LIKE YOU DID BEFORE)
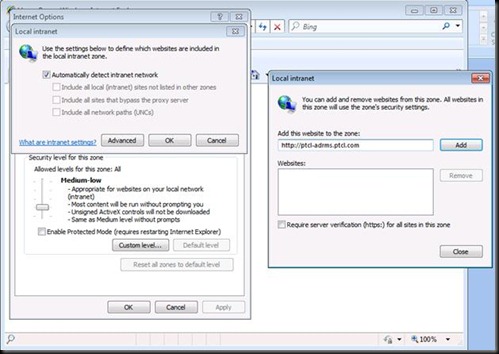
Again Boot Strap would occur first and remember to open outlook if it hangs J

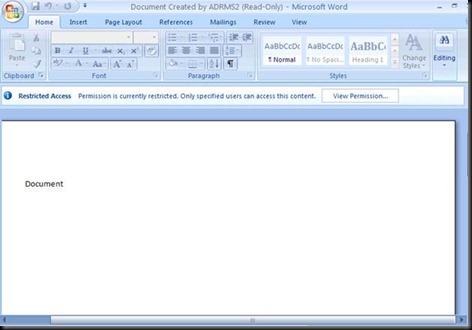
Notice the document is all greyed out J
Now stay logged in as ADRMS2 and create the document by the same name as shown below and give ADRMS1 read only rights.
Make Sure that you don’t open this document by logging in with another user.(Will see in the Lab why)


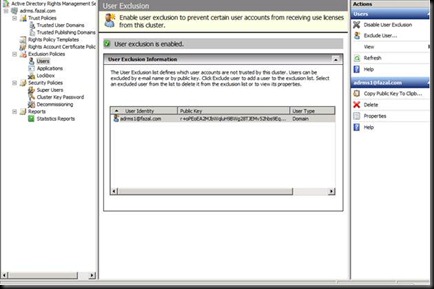
Now go on the ADRMS Server and Export a few files (What they do is a secret at the moment J)
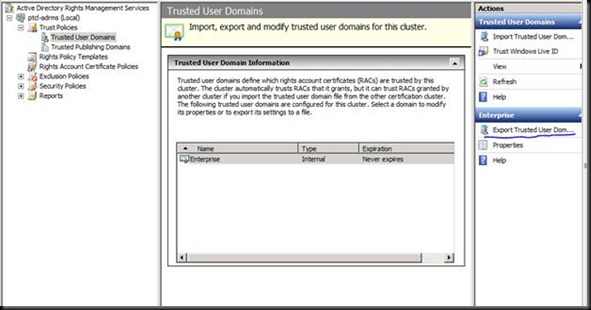
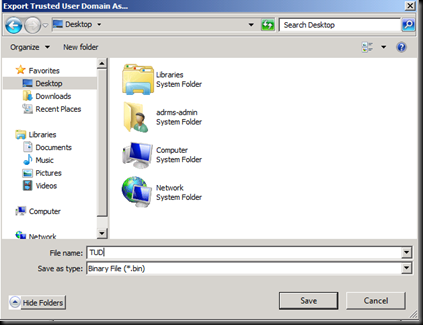
Exporting the TUD on the desktop
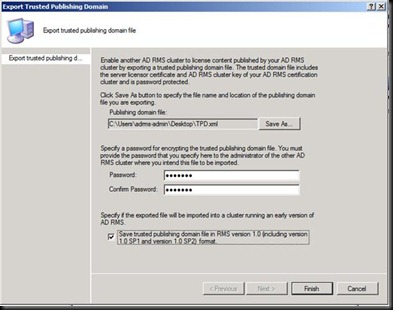
Exporting the TPD
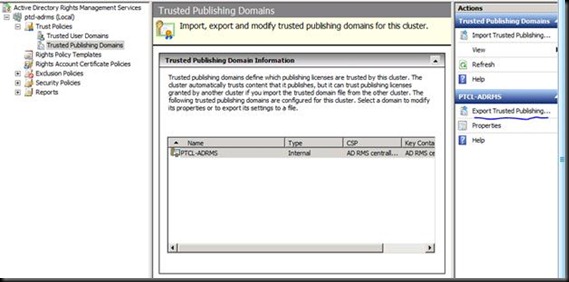
Please give the password as Win2003


Removing the ADRMS Server and doing the corrected installation now. Lets see the difference J
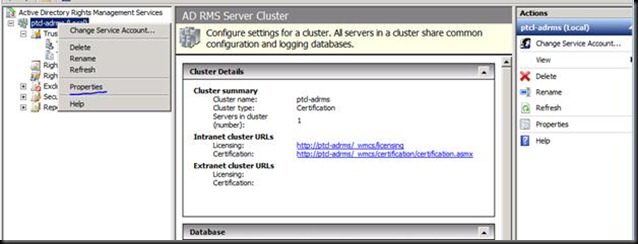
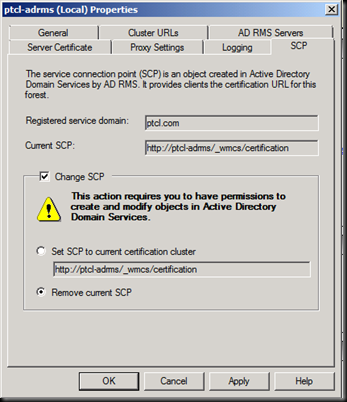
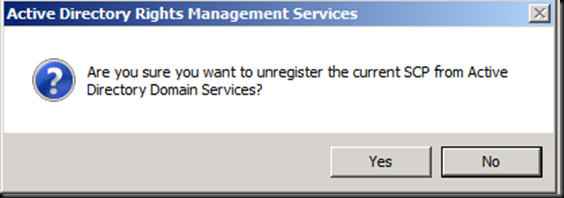
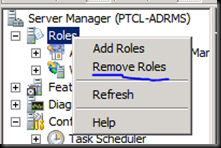
Safe to remove ADRMS now
Uncheck ADRMS
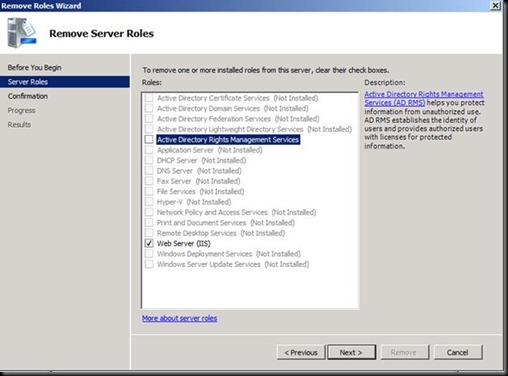
Now Click Remove.
Now it is uninstalling ADRMS.
In the meantime let’s go to DNS and create a CName Record as this is a proper installation now.
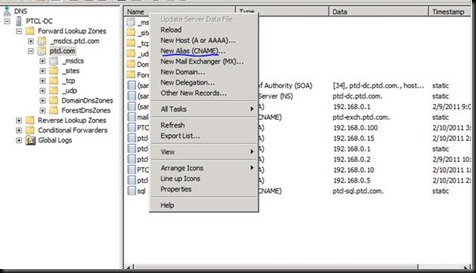
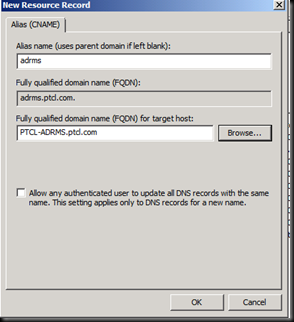
CName record for SQL is already created
Now back to the ADRMS machine and let us re provision the Server with SQL as its database now.
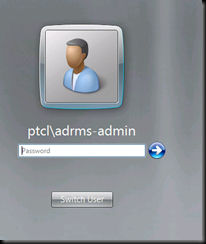

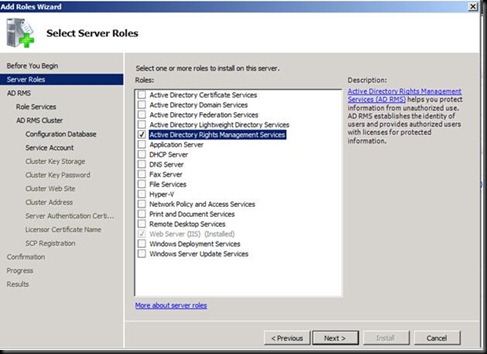
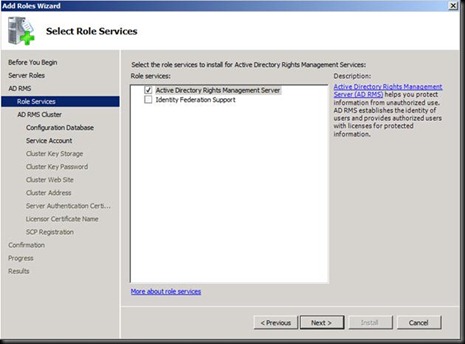
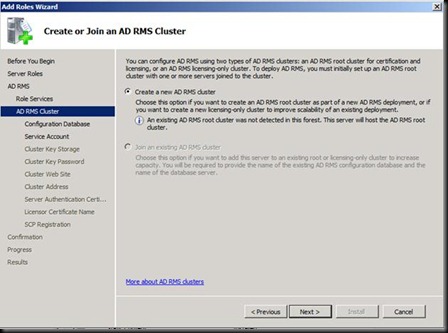
Click on Validate and you will get an error J
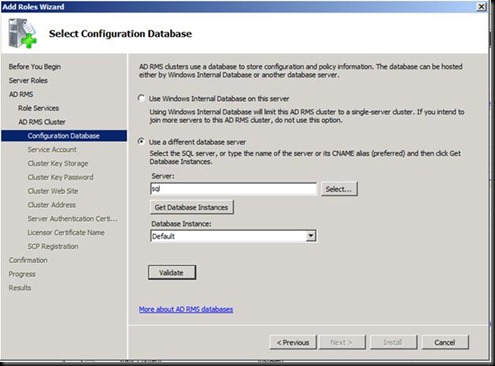
This is because the account does not have rights on the SQl Server.
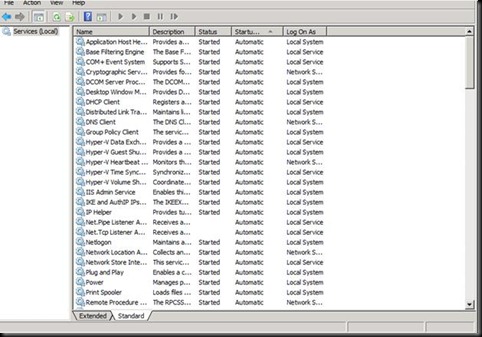
Check the SQL Server and the services are up

Go on the SQL Machine and open SQL Server Management studio.
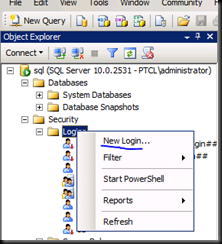

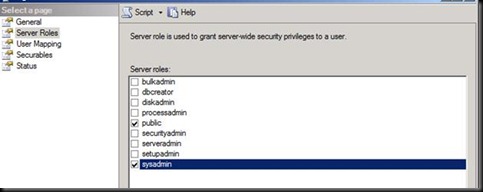
Click ok
Now Back to the ADRMS Server
And Click on Validate and it should give no errors now and click on next
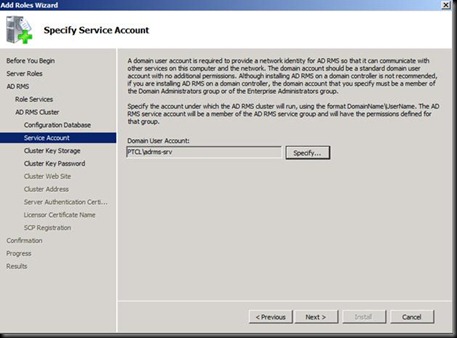
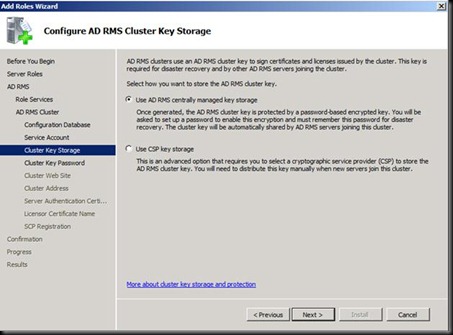
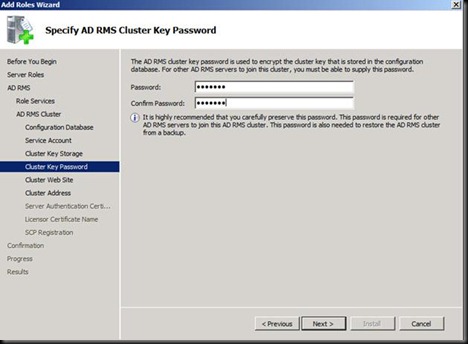
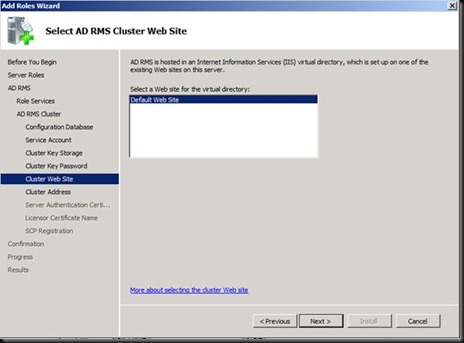
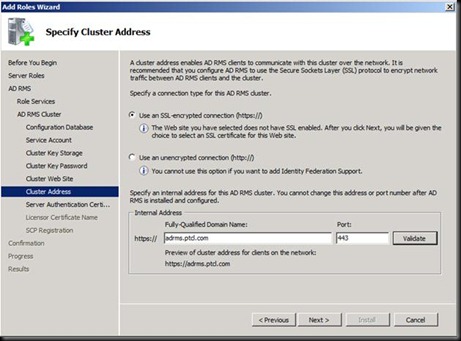
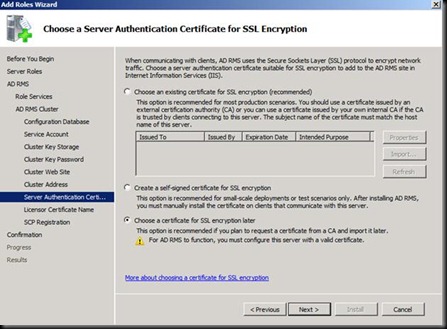

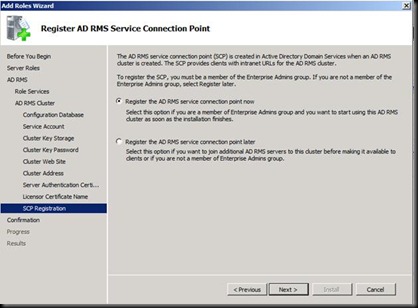
Next Install and DONE J
Log Off and Log back in.
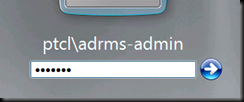
Try opening the ADRMS console and we are here with an error
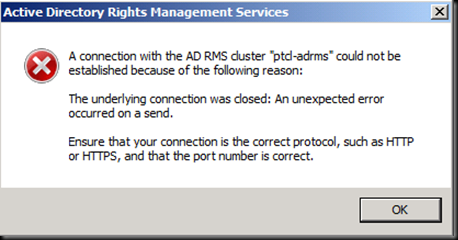
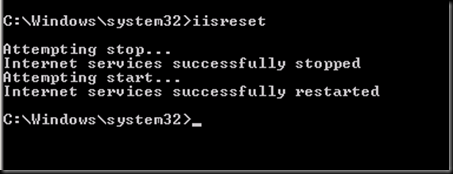
Now Press ok and Open IIS
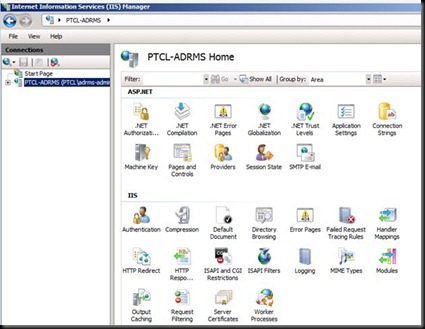
Click on Server Certificates


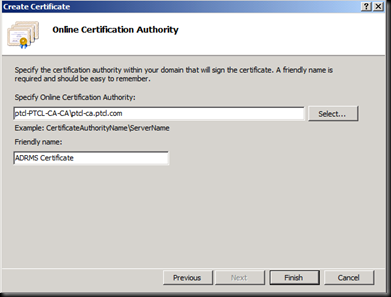
Now Click Finish

Now click on Bindings
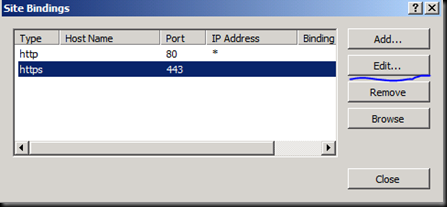
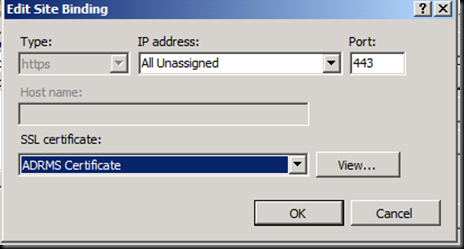
Click ok and close
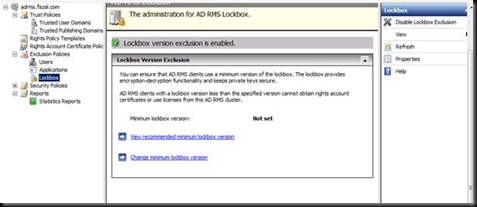
Now go into the ADRMS console and press Refresh

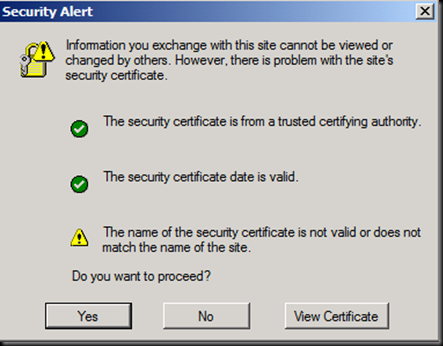
Why are we presented with this ? (Do ask me and If you know than please tell me J)
Click on yes and now click on

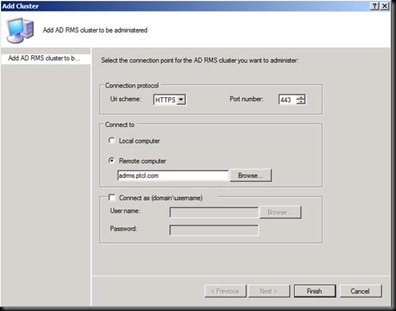
Why wasn’t that Screen prompted now ? [Try giving the answer in the comment section below  ]
]
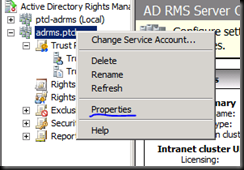
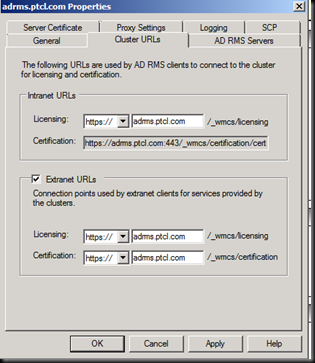
Now let us set these URL’s through Group Policy so that users are not prompted for password again and again
Now go in the DC and open GPMC
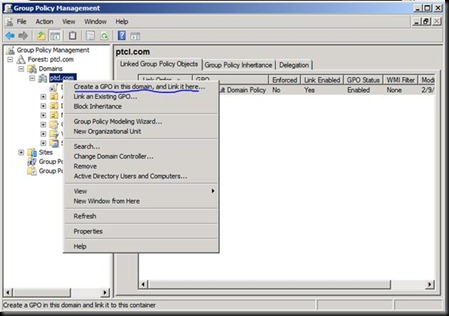

Click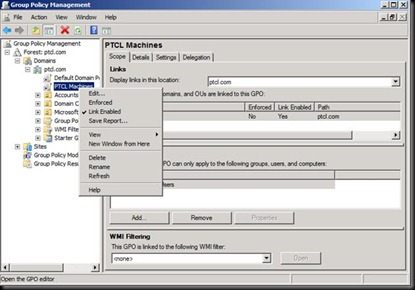
Click on Edit.
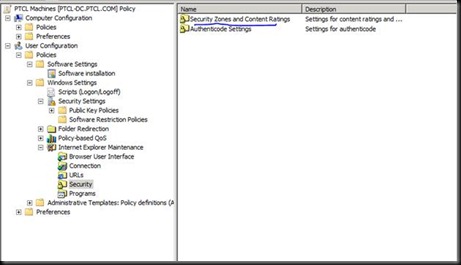
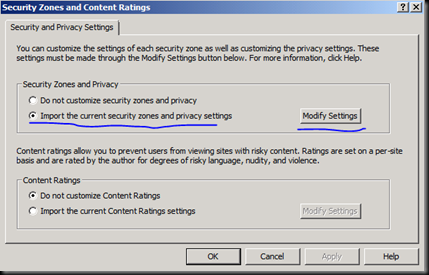
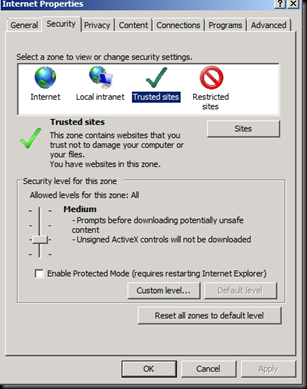
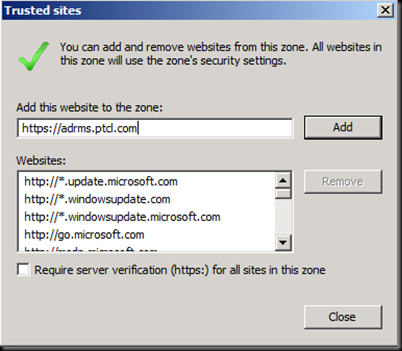
Donot forget to click Add
Now Add it in Local Intranet Sites.
Click OK and close GPMC
Go on the Client machine now and run Gpupdate /force
Verify it and If it is not populated than you can add it for now
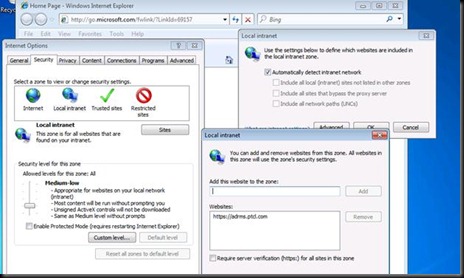
Now Log on with ADRMS user 1 and try opening the file which was encrypted by ADRMS2


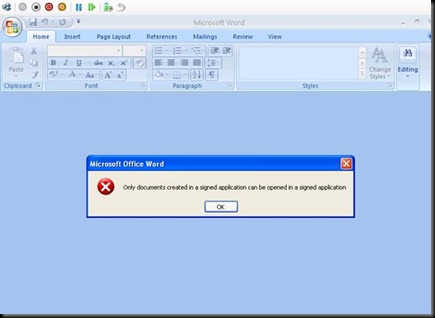
Notice that it is trying to find the server but the URL has now been changed and this TUD is no longer there.(RAC which user is presenting is no more trusted by this ADRMS Server)
Now the reason is that These clients have been bootstrapped by the old RMS Server and it is no more there now
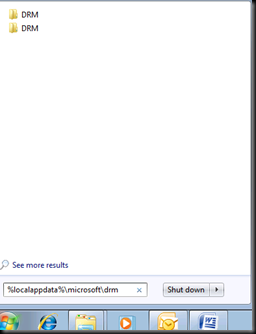
Go in this location and see all the certificates issued by the old RMS Server in the bootstrap process.

GIC = RAC
I know you don’t trust me and want to read from ADRMS itself J
Let us go on the ADRMS Server and view it.
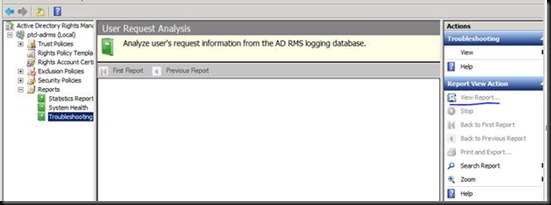
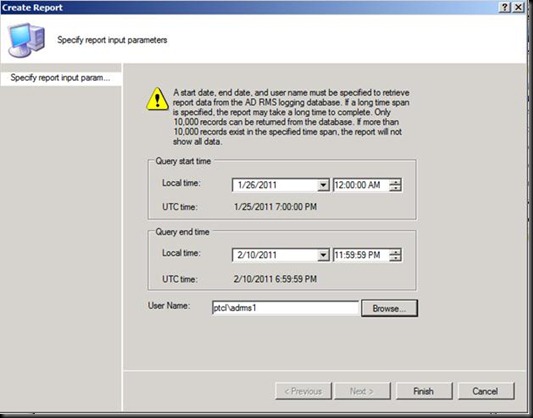
Click Finish

This is failing because the RAC is not trusted as it was issued by another ADRMS.
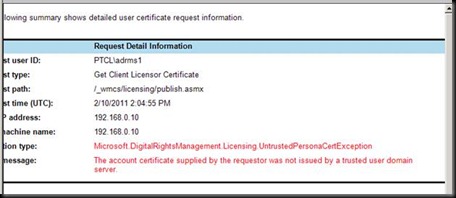
Now how should we fix this ?
There are two answers
1)Import the TUD which we exported
2)Delete the DRM folder on the client and let it get bootstrap with the new RMS Server.
What are the draw backs ?
2)We cannot open the old documents than.
Now as the discussion is done let us Import the TUD.

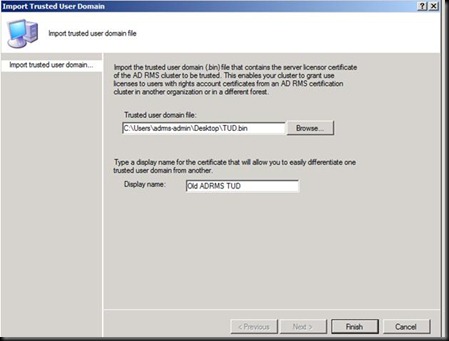
Let us now go on the client with ADRMS1 and verify where are we now


Press NO and Log Off here
Log in with ADRMs2 and verify the same thing with the other document.
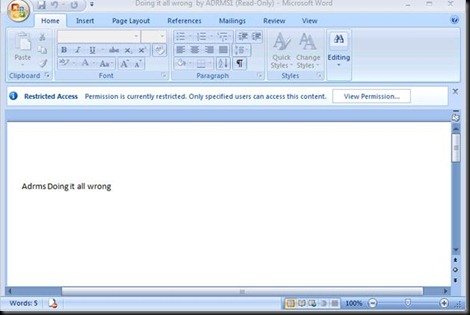
This document was opened because the client already had the End user License issued from the old ADRMS Server.
Let us again go back to ADRMS Server and verify what happened wrong with ADRMS1 user

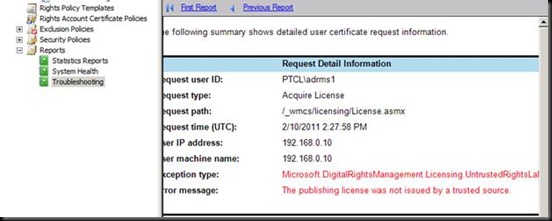
EU cannot be issued because new ADRMS server does not have the private key to decrypt the content.
Let us now import the certificate that we exported

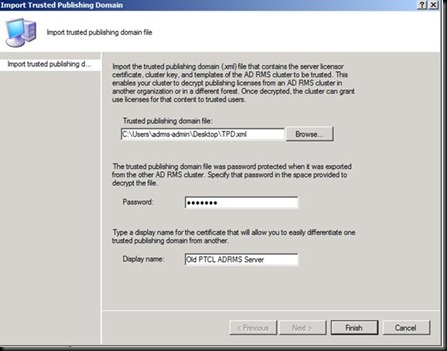
Let us now Open the document with the ADRMS1 user which didn’t opened before.
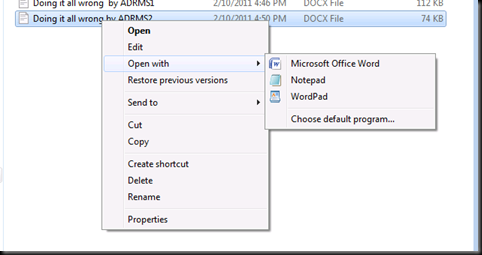
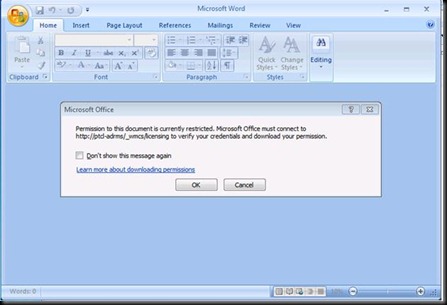
And it opens J
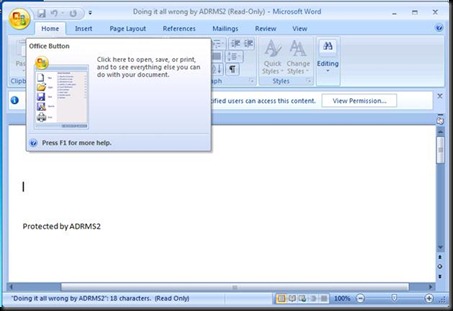
Now we need to make sure that on all the documents that all my users encrypt with ADRMS should have the new Server named stamped . So we would need to develop a Script to delete the DRM folder on all the clients.
Now Let us do this manually from our client.
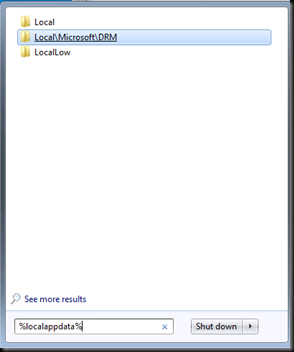
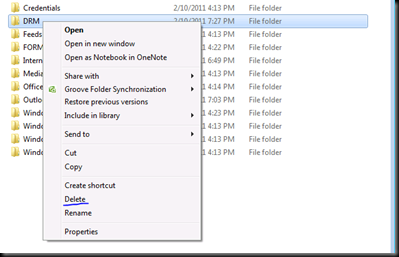
Now let us Encrypt a document and see how the machine bootstraps again.
Just a hint J
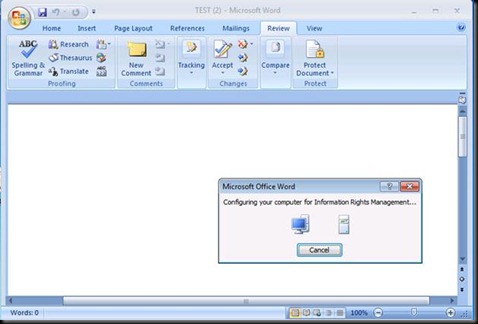
This should appear
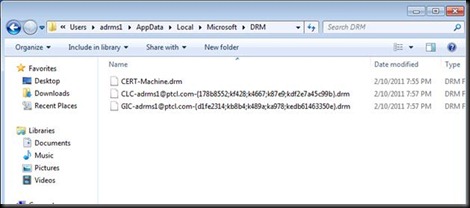
And we see the RAC and CLC and Machine cert. J
Hope this was Informative and we would be doing the Integration with Moss, Exchange 2010 and learn more about ADRMS.


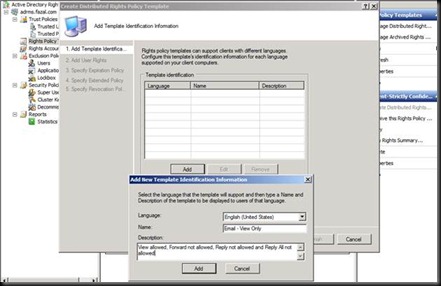
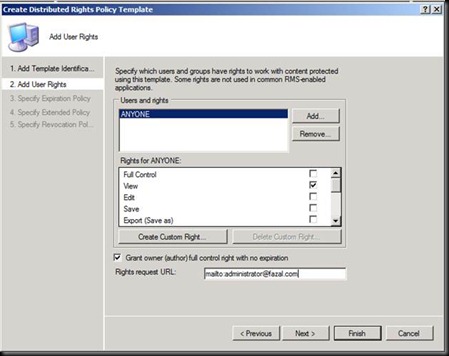
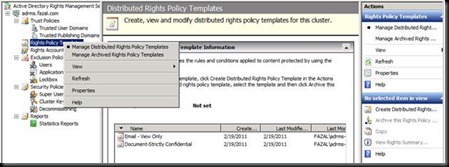
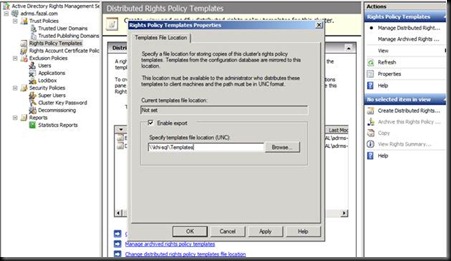




![clip_image002[4] clip_image002[4]](https://fazalmkhan.files.wordpress.com/2011/02/clip_image0024_thumb.jpg?w=500&h=369)
![clip_image004[4] clip_image004[4]](https://fazalmkhan.files.wordpress.com/2011/02/clip_image0044_thumb.jpg?w=488&h=361)
![clip_image006[4] clip_image006[4]](https://fazalmkhan.files.wordpress.com/2011/02/clip_image0064_thumb.jpg?w=522&h=313)
![clip_image008[4] clip_image008[4]](https://fazalmkhan.files.wordpress.com/2011/02/clip_image0084_thumb.jpg?w=496&h=450)
![clip_image010[4] clip_image010[4]](https://fazalmkhan.files.wordpress.com/2011/02/clip_image0104_thumb.jpg?w=495&h=397)

![clip_image013[4] clip_image013[4]](https://fazalmkhan.files.wordpress.com/2011/02/clip_image0134_thumb.png?w=512&h=447)


![clip_image019[4] clip_image019[4]](https://fazalmkhan.files.wordpress.com/2011/02/clip_image0194_thumb.jpg?w=517&h=339)
![clip_image021[4] clip_image021[4]](https://fazalmkhan.files.wordpress.com/2011/02/clip_image0214_thumb.jpg?w=523&h=153)


